CSx  MANUAL
CSx Installation
CSx Flow Chart
Start your work
RL Calculations
Checking Data
      L Section
      CSinLS
Top Level RLs
'Other' Sheet
Final L Section
Grade Corrections
      Move Grips
      Insert Point
      Slope to Line
Quantity by L Scetion
Completing L Section
      Line to Slope
      Print RLs
      Difference
      Export Text
'Heading' Sheet
'Colour' Sheet
CSx
Quantity Statement Formating
MultiCS
MultiLS
CSxPlot
Folders at the end of CSx
Multi Layer Cross Sections
'Other' Sheet in detail
'Top_Layer' Sheet
'Drain' Sheet
'Widening_Layer' Sheet
'Area' Sheet
Different data
in different chainages
KCSpw
RoadPlan
        HOME         MultiCS     N E X T ›››    

VIDEO  [1.57 MB] Video not run?

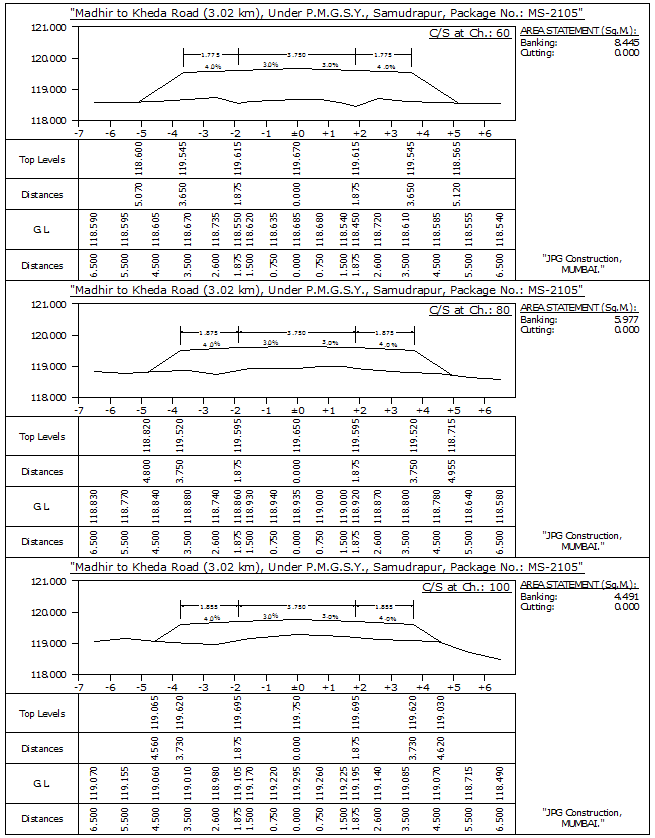
Purpose of this command is to arrange multiple cross sections in a single drawing to ease ploting work.

All cross sections in 'Cross Sections' folder are single. We want 2 to 3 cross sections in a single drawing so that number of pages required for printing will be less. For this,
Open new blank file in AutoCAD. Give 'MultiCS' command:
MultiCS command by menu

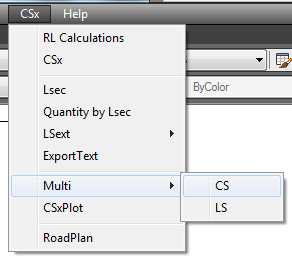
Give '3' (number of cross sections in one page), in command prompt:
MultiCS command in command prompt

Select XLS data file, in which 'GL' sheet is present, and select 'Open':
XLS file brows for 'MultiCS' command

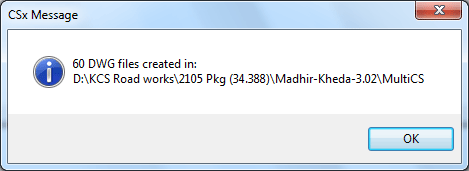
Following message will display, after grouping all cross sections. All drawings created in 'MultiCS' sub folder:
End message given by 'MultiCS' command

After MultiCS, drawings look like:
A DWG file after using 'MultiCS'
Top Next